

It’s at this time in the year I find that the chocolate stash in the pantry begins to multiply and multiply as autumn and winter festivities seem to result in the trading of chocolate treats. From deliciously gory halloween candies, chocolate for s’mores on bonfire night and the infinite amount of chocolate coins for christmas and new year, that if only we the economy used chocolate coins we would probably have millionaires the age of 3!

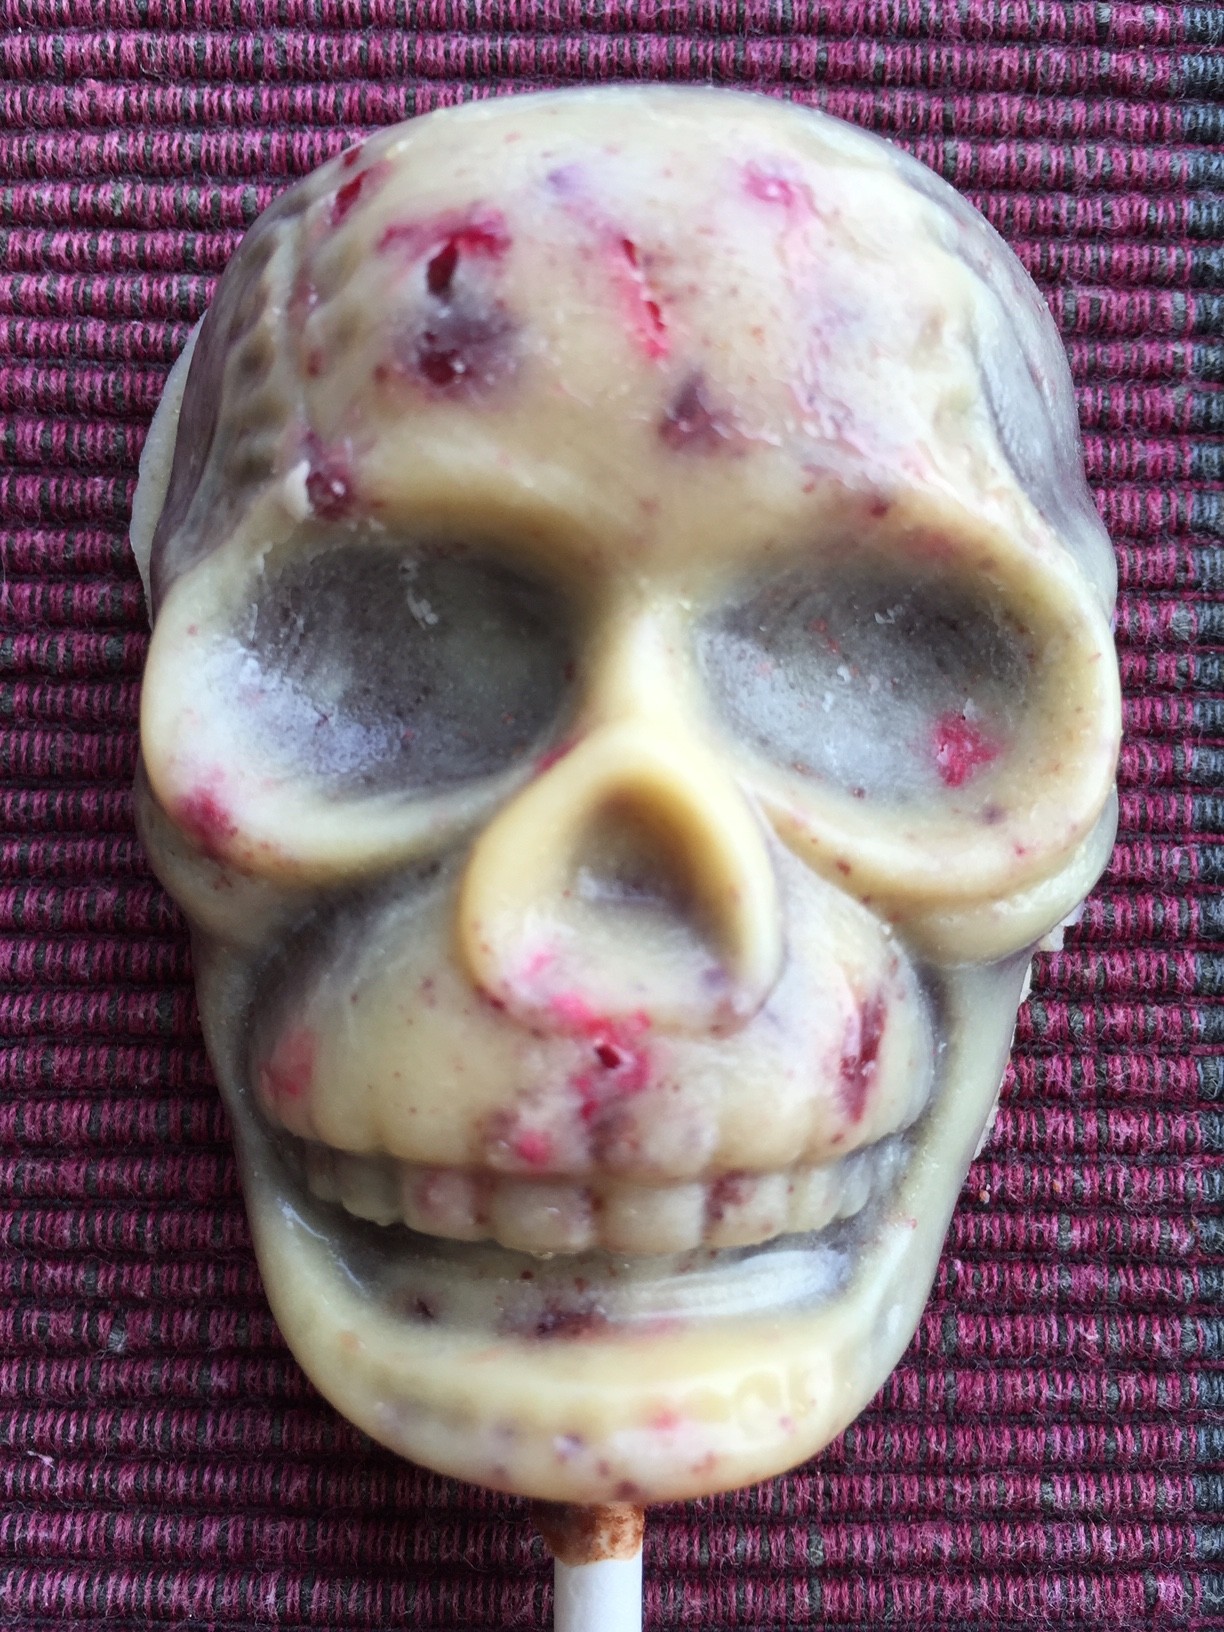
I chose to make these chocolates in a skull lollipop mould because I thought the berries and sumac studded throughout the chocolate depending on how you interpret it, look like the brains and blood that our skull protects or the intricately decorated skulls used, to celebrate the day of the dead.
However, these don’t have to be made into skull lollipops. You could buy any chocolate or lolly mould you like to or you could make simple chocolate bark if you don’t have any moulds. Christmas is on it’s way and these handmade chocolates would make gorgeous, unique gifts. With these being vegan too you wouldn’t have to worry about common allergies or intolerances of your friends and family, they’re crowd pleasers!
Sometimes I like to add 100ml of coconut milk to the chocolate mixture and leave it to set before rolling the mixture into truffles and then rolling the truffles in the berries and sumac. They are little creamy bites of heaven, and if you’re not a coconut fan like me, don’t worry it’s hidden by the rich cacao.
The sweet berries work perfectly against the sour sumac (which has a tart lemony flavour) and the rich chocolate itself.
These are super quick and easy to make brilliant if your looking to get the whole family involved in some holiday baking. I must warn you though you will be finding cocoa butter and chocolate everywhere if you are as messy a cook as me!

(This recipe makes 5, 2.5 x 1.5 x 0.5 inch lollipops but, the recipe can easily be doubled etc to make more, also the number of lollies you make will depend on the size of the mould you used)
INGREDIENTS:
- 75g cacao butter
- 85g maple syrup
- 1 tsp vanilla extract
- cranberries (finely chopped)
- freeze dried raspberries
- crushed sumac berries
- 20g cacao powder
METHOD 2:
1. To make the white cacao butter layer melt 25g of cacao butter, along with the 10g of maple syrup and vanilla over a bain-marie (make sure the bottom of the bowl doesn’t touch the simmering water underneath) or on medium heat in the microwave for 40 second intervals. It’s best to only partially melt the cacao butter drops as you eventually need the temperature of the liquid to be around 23-21 degrees thick enough that when you tilt the butter it will leave a trail around the sides.
2. Using a pastry brush, paint a thin layer over the mould and then sprinkle over the freeze dried raspberries, chopped cranberries and sumac, then place the mould in the fridge for 5 minutes so the butter can set. Spoon a couple of teaspoons of liquid into each mould and then tilt the mould so that the thickened butter coats all the crevices and sides of the mould, place the mould back in the fridge to set whilst you make the chocolate. If you use the fridge make sure the chocolate is at room temperature and not warm before placing it in the fridge. If you find the cacao butter gets too hard to use, just gently melt it over a low heat in the microwave or over the bain-marie to loosen the mixture a little.
3. Completely melt the remaining 50g of cacao butter and then whisk in the cacao powder and remaining 75g maple syrup until thoroughly combined. Leave the chocolate to cool to room temperature. Once cooler and the cacao butter shell has set, place the lollipop sticks into the moulds and then pour in the chocolate until it fills the moulds. Finally I like to sprinkle more berries and sumac over the top so that the flavourings are on both sides.
If you have time it’s best to let the chocolates set naturally at room temperature (it’s best left over night) this just prevents any cracking or blooming of the chocolate. Once set, you can wrap the chocolates in little cellophane bags or store them in an air tight tin in a cool place. These chocolates will keep for around 2 or so weeks, not that you will be able to resist eating them!

